Say Goodbye to Dry Chicken: Mastering Easy Oven Baked Chicken Breasts
Are you tired of dry, bland chicken breasts that leave you wishing you’d ordered takeout? You're certainly not alone. Many home cooks grapple with how to cook chicken breasts perfectly, often overcooking them out of an understandable fear of undercooked poultry. This common pitfall gives this lean, versatile protein an undeserved bad rap. But what if we told you that achieving consistently juicy, flavorful chicken breasts doesn't require culinary acrobatics? It’s true!
The secret lies in a simple, fuss-free method: oven baking. Not only is it one of the healthiest ways to prepare chicken, but it's also incredibly easy to customize, making it the ultimate weeknight dinner solution. Forget the mess and stress – we're about to transform your perception of chicken breasts from boring to brilliant.
Why Oven Baking is Your Weeknight Dinner Hero
When it comes to preparing meals during a busy week, convenience and healthy options are paramount. Oven-baked chicken breasts tick all the boxes, offering a plethora of benefits that make them a go-to for countless home cooks:
- Effortless & Minimal Mess: Unlike pan-frying or grilling, oven baking requires very little active attention. Pop them in, set a timer, and let your oven do the heavy lifting. Plus, cleanup is often as simple as washing a single baking sheet.
- Healthy & Lean: Boneless, skinless chicken breasts are naturally low in fat and high in protein, making them an excellent choice for a health-conscious diet. Baking further minimizes added fats compared to other cooking methods.
- Incredible Versatility: This method is a blank canvas for flavor. From simple salt and pepper to elaborate spice blends, marinades, or fresh herbs, the possibilities are endless. This means you can enjoy chicken breasts several times a week without ever eating the same meal twice.
- Perfect for Meal Prep: Baked chicken breasts store well and can be easily incorporated into salads, grain bowls, sandwiches, pasta dishes, or even quesadillas (a personal favorite for a quick lunch!). Cook a batch on Sunday, and you're set for days.
- Sheet Pan Dinners: Take convenience to the next level by creating an entire meal on one baking sheet. Roasting chicken breasts alongside your favorite vegetables allows the flavors to meld beautifully, with veggies soaking up those delicious pan juices. Think bell peppers, broccoli, sweet potatoes, or asparagus for a complete, nutritious meal with minimal cleanup.
The Core Method: How to Cook Chicken Breasts Perfectly in the Oven
Achieving perfectly cooked, juicy chicken breasts boils down to a few key principles: the right temperature, the right timing, and crucial doneness checks. Forget the guesswork and embrace these simple steps.
1. Preheat Your Oven to the Right Temperature
For juicy chicken with a lovely golden exterior, a hot oven is essential. Set your oven to 425°F (220°C). This high temperature allows the chicken to cook quickly from the inside while encouraging a slight crust on the outside without drying it out.
2. Prepare Your Chicken Breasts
- Pat Dry: Always pat your chicken breasts thoroughly dry with paper towels. Excess moisture steams rather than browns, preventing that desirable golden crust.
- Season Liberally: This is where flavor begins! Don't skimp on the salt – it makes a profound difference. Beyond salt, add black pepper, garlic powder, onion powder, paprika, dried herbs like thyme or oregano, or your favorite spice blend. A drizzle of olive oil before seasoning helps the spices adhere and promotes browning.
- Consider Even Thickness: Chicken breasts are often thicker on one end than the other, leading to uneven cooking. For a more consistent result, place breasts between two sheets of parchment paper or plastic wrap and gently pound the thicker parts with a meat mallet or rolling pin until they are roughly 3/4 to 1 inch thick throughout. This simple step ensures every part cooks at the same rate, preventing dry edges.
3. Bake Until Just Done
Place the seasoned chicken breasts on a rimmed baking sheet. If you're using an oven-safe skillet and want an extra golden, caramelized crust, you can brown the chicken on the stovetop for about 3-4 minutes per side before transferring the skillet to the oven to finish baking. This adds a fantastic depth of flavor.
- Timing: For average-sized boneless, skinless chicken breasts (about 6-8 oz each), expect them to take approximately 20-25 minutes at 425°F (220°C). If you browned them in a skillet first, they might need only 10-15 minutes in the oven.
- The Golden Rule: Use a Meat Thermometer! This is your ultimate tool against dry chicken. Insert an instant-read meat thermometer into the thickest part of the breast. Chicken is safely cooked when it reaches an internal temperature of 165°F (74°C). Resist the urge to cut into the chicken to check for doneness, as this releases precious juices.
4. Rest Your Chicken
Once your chicken reaches 165°F, remove it from the oven and transfer it to a cutting board. Tent it loosely with foil and let it rest for 5-10 minutes. This resting period is crucial! It allows the juices, which have been driven to the center during cooking, to redistribute throughout the meat, resulting in an incredibly tender and juicy final product. Skipping this step is a fast track to dry chicken, even if it was perfectly cooked.
Beyond the Basics: Elevating Your Baked Chicken Breasts
While the basic method delivers excellent results, a few additional techniques can truly transform your oven-baked chicken breasts from good to gourmet. Many of these strategies focus on maximizing flavor and moisture, addressing the common complaints about lean chicken.
The Power of Brining
As referenced by culinary experts, the secret to succulent chicken breasts often lies in salt. Brining, whether wet or dry, fundamentally alters the protein structure of the chicken, allowing it to retain more moisture during cooking and enhancing its natural flavor. If you want to master juicy chicken breasts, brining is a game-changer.
- Dry Brining: Simply sprinkle chicken breasts generously with kosher salt (about 1 teaspoon per breast) on all sides at least 30 minutes, or up to several hours, before cooking. Pat dry before seasoning with other spices.
- Wet Brining: Submerge chicken breasts in a solution of water, salt (and sometimes sugar or other aromatics) for 30 minutes to an hour. A good ratio is 1 tablespoon of salt per cup of water. Rinse the chicken thoroughly and pat dry before cooking.
Both methods lead to remarkably tender and juicy meat, effectively preventing the "too mild" or "bland" criticism often leveled at chicken breasts.
Experiment with Flavor Profiles
The beauty of oven baking is its adaptability. Don't be afraid to experiment!
- Herbaceous: Fresh rosemary, thyme, or sage pair wonderfully.
- Spicy: Add a pinch of cayenne, chili powder, or smoked paprika.
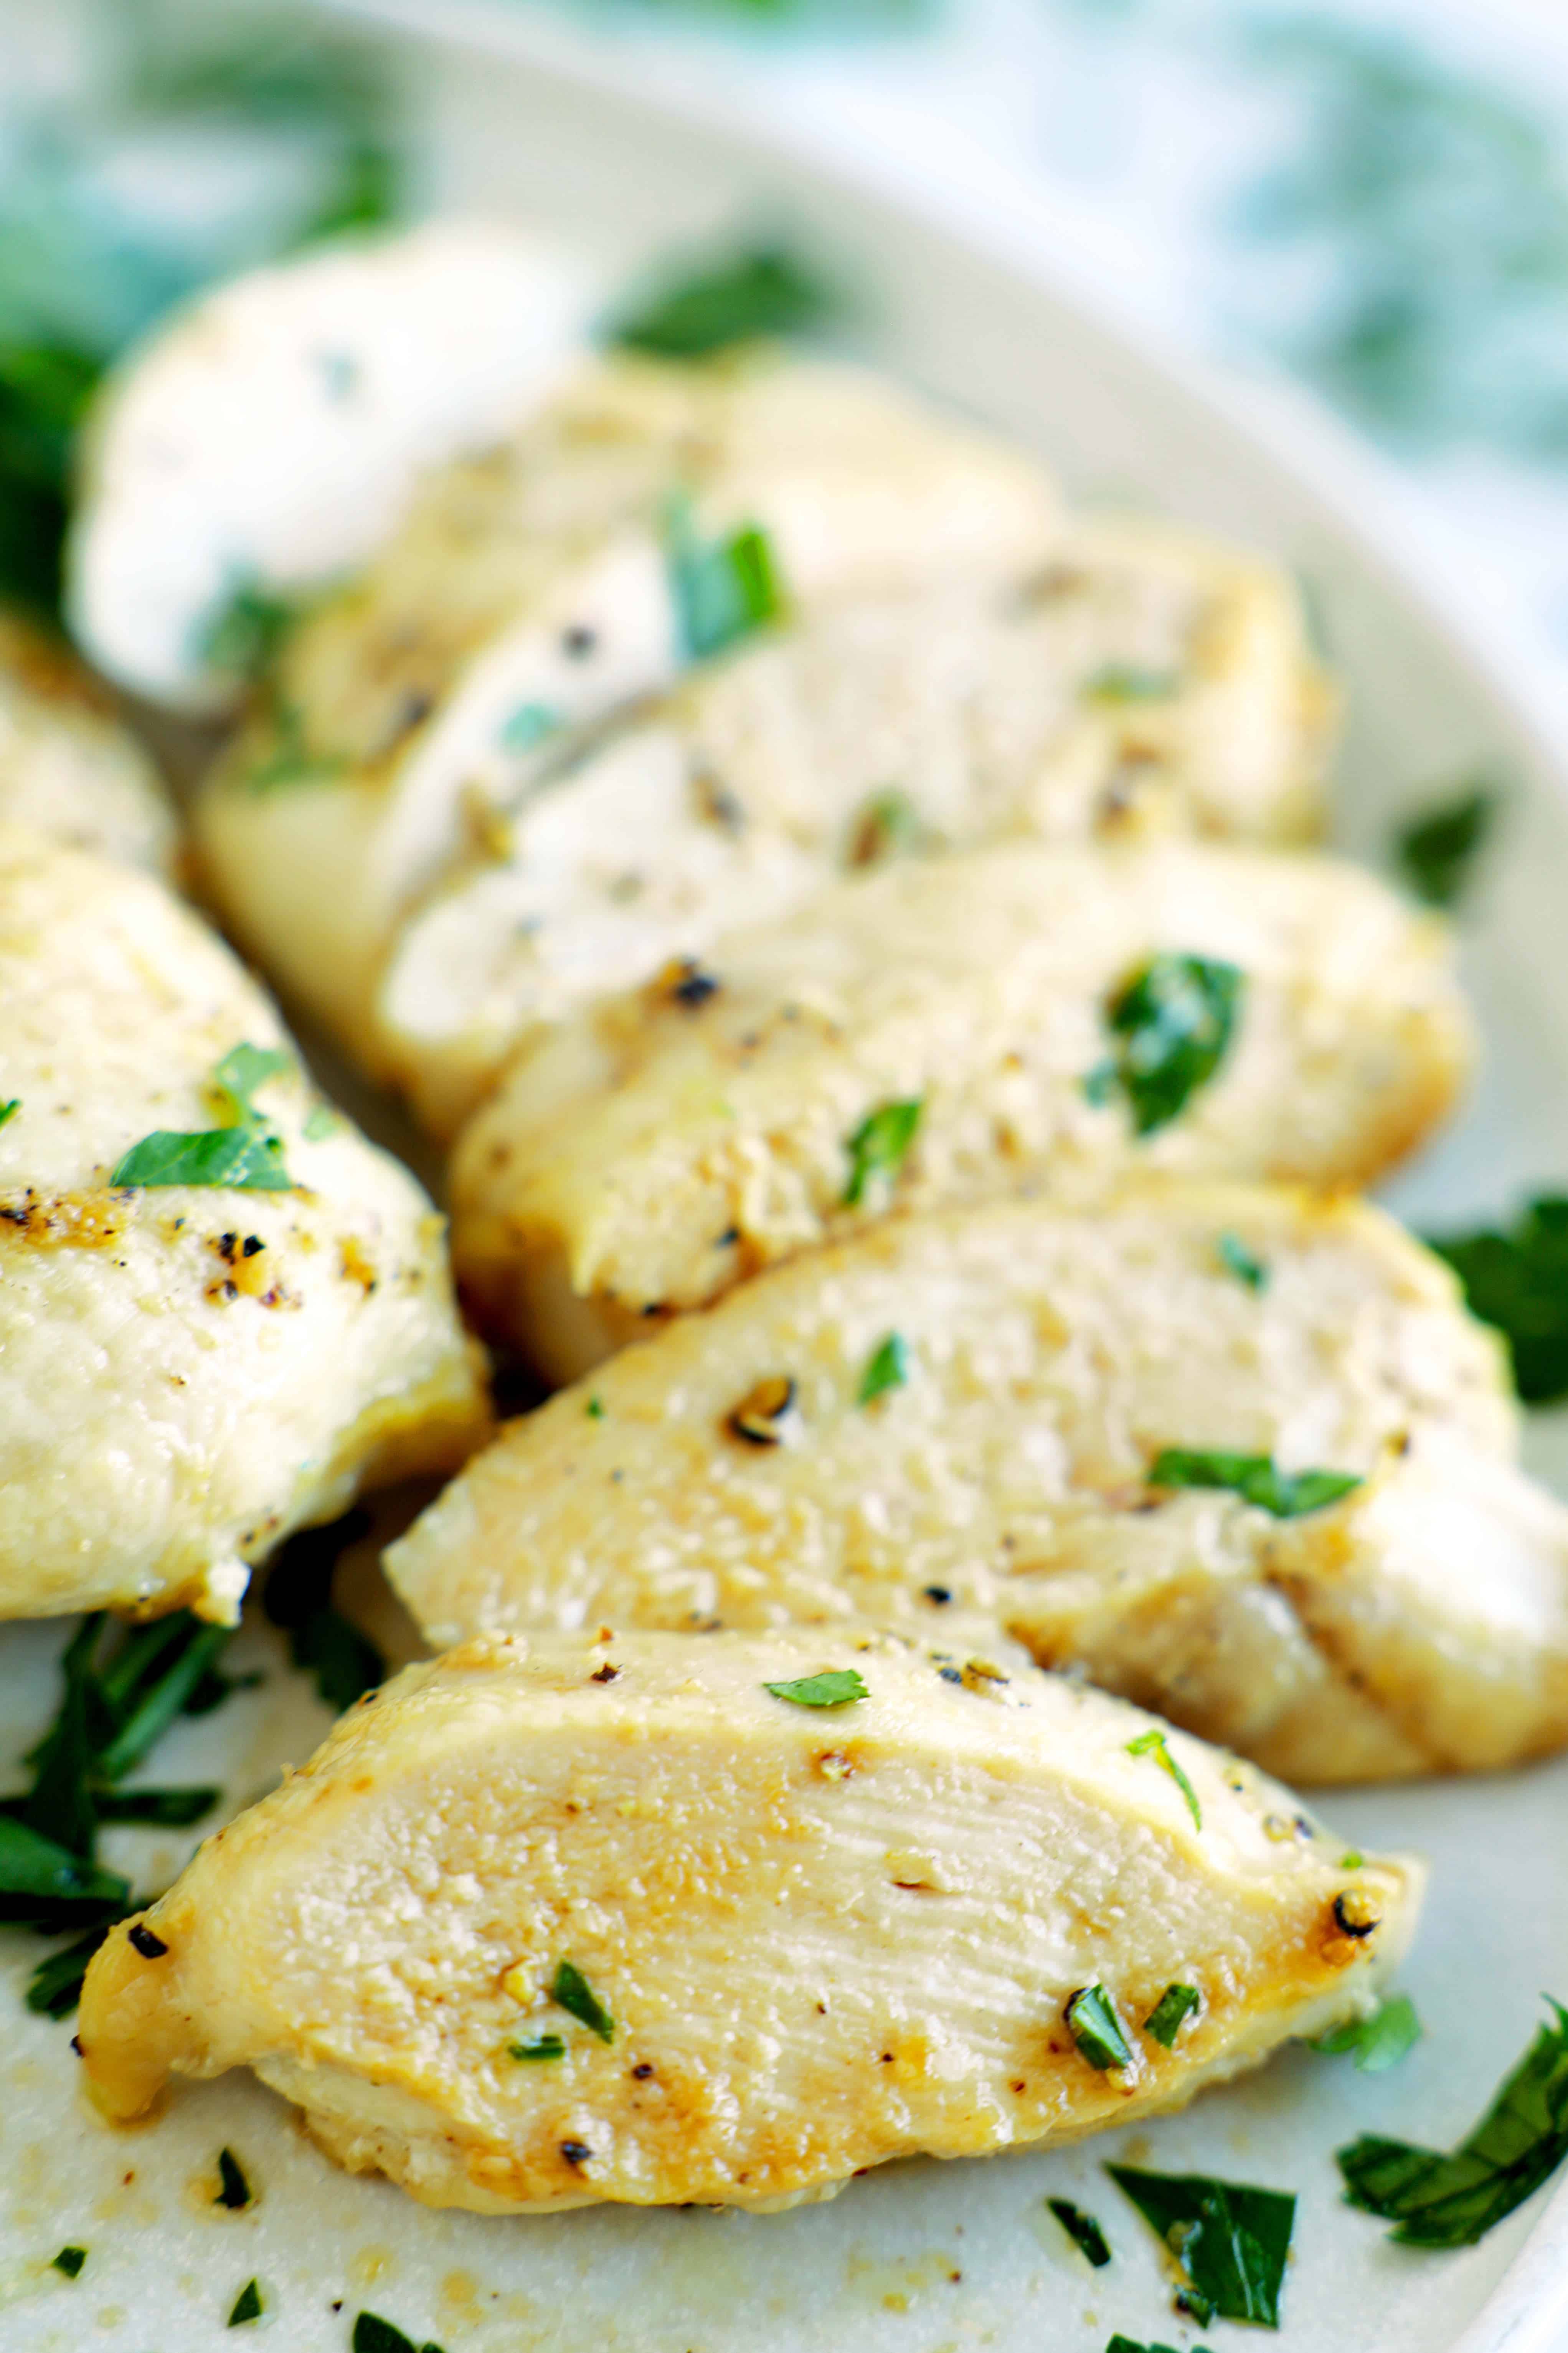
- Garlicky Lemon: Minced garlic, lemon zest, and fresh parsley create a bright, zesty flavor.
- Cheesy: A sprinkle of Parmesan or a blend of Italian cheeses in the last few minutes of baking adds a delicious crust.
- Breadcrumb Coating: For a crispy exterior, dredge chicken in seasoned breadcrumbs before baking.
Your Go-To Weeknight Meal Solution
With these simple techniques, you're now equipped to turn those often-dreaded chicken breasts into a meal you'll actually look forward to. No more dry, rubbery disappointments. Instead, you'll be rewarded with tender, juicy, and flavorful chicken every time, perfectly suited for a quick family dinner or as a versatile component in your meal prep routine.
So, the next time you're wondering how to cook chicken breasts without the fuss, remember the oven. It's truly the easiest path to delicious, healthy, and endlessly customizable weeknight meals. Happy cooking!
